Your cart is empty.

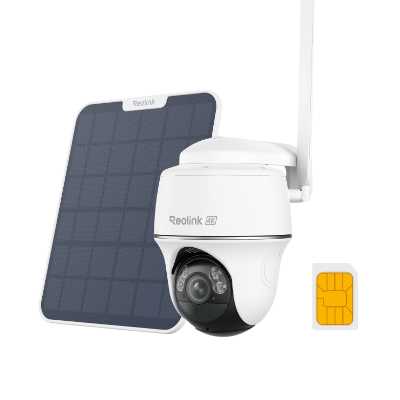
Reolink WiFi security cameras suppor both 2.4 GHz and 5 GHz options, ensuring reliable Wi-Fi 6 wireless monitoring without Ethernet cable. With 4K ultra HD resolution, these cameras capture every detail, day or night, and are suitable for both indoor and outdoor use.
Series/Type
Scenarios
Power Options
Network connection
Resolution
Storage
Lens
Night Vision
Light
Weatherproof
Channels
Color
Compatibility
Special Features
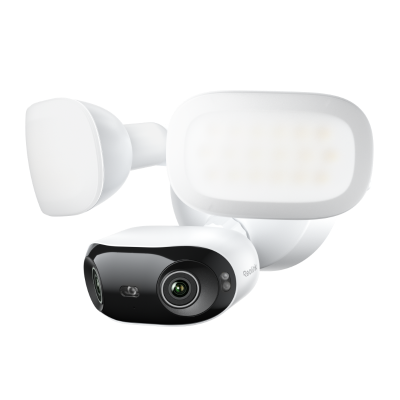
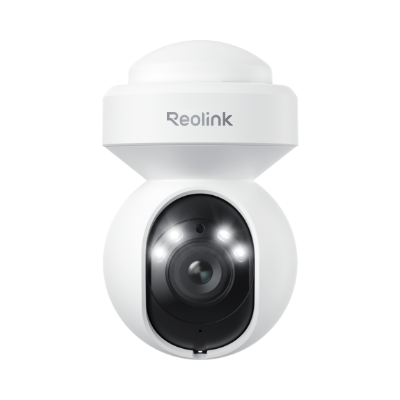
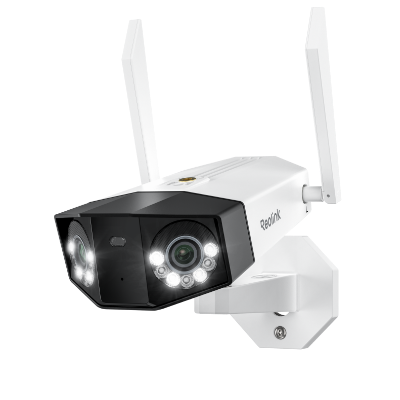
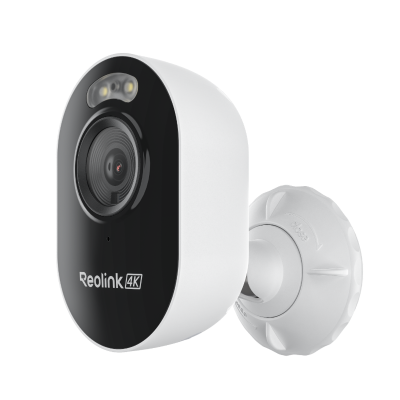
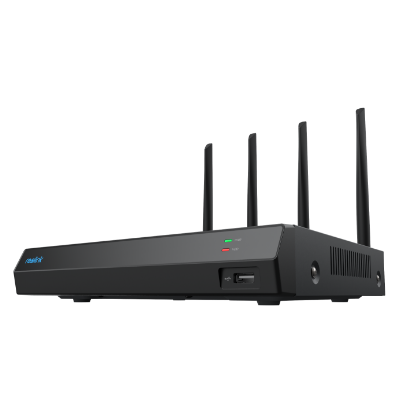
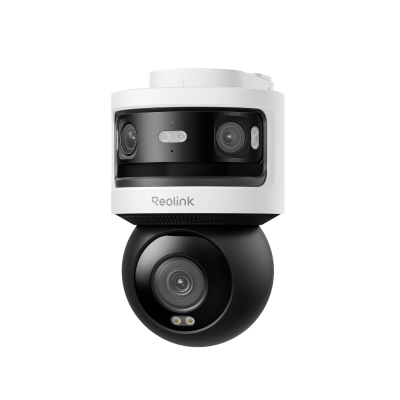
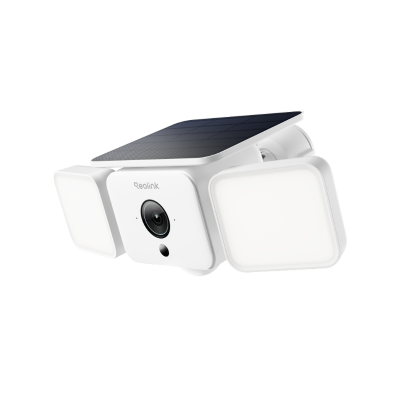
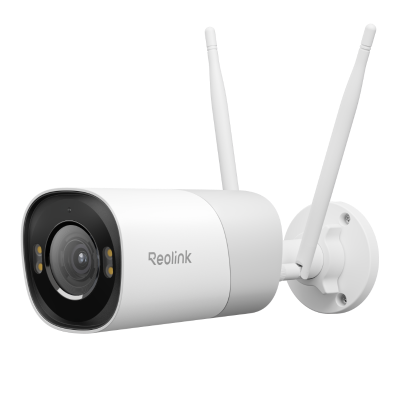
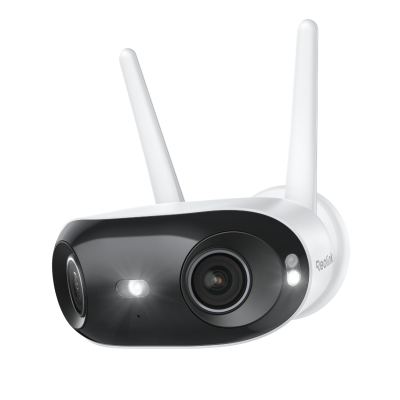
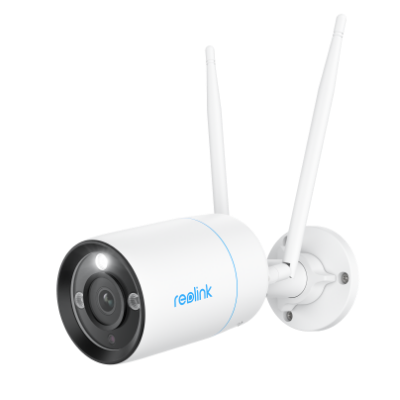
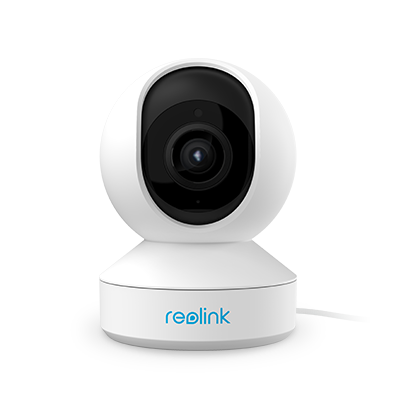
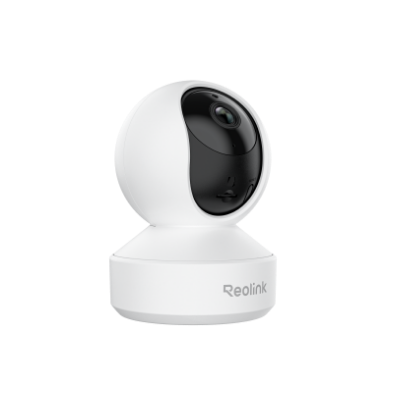
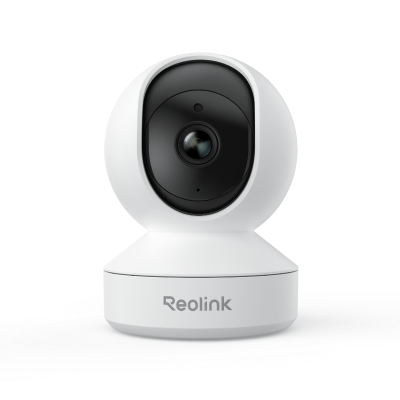
A WiFi camera hooks straight into your wireless network and streams video to your phone or computer. The benefits reach far beyond the thrill of seeing your front door from miles away. Key advantages include:
Wire-free flexibility: Most Wi-Fi units only need a power lead—or none at all if they run on batteries—so you can put them in spots where drilling holes for data cable would be hard or ugly. Garage rafters, rental apartments, and thin porch columns become practical locations.
Real-time mobile alerts: The camera pushes motion or sound notices to your phone the split second it sees activity. You respond in real time, speak through the camera, or call the police. This fast feedback loop lowers the risk of loss.
Simple scalability: Add another unit to the app, give it a name, and you are done. A house that starts with one indoor lens can grow into a full wifi security camera system that covers doors, the yard, and the driveway without special skills.
Remote live view: Whether you travel for work or just walk the dog, you can open the app and see live video in seconds. That peace of mind is a huge stress reducer for parents, pet owners, and frequent fliers.
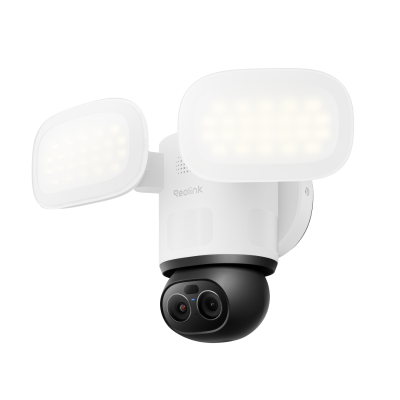
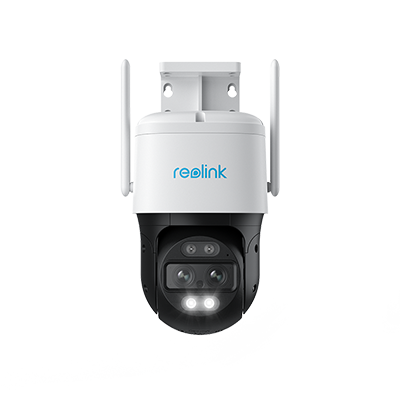
Top Reolink Wi-Fi cameras for outdoor coverage: The Reolink Elite Floodlight WiFi provides ultra-bright floodlights and smart motion detection to protect wide outdoor areas, while the Reolink TrackFlex Floodlight WiFi adds dual-lens tracking and 360° coverage for full-area monitoring. Both cameras combine 4K video, easy Wi-Fi setup, and flexible storage options, making them ideal choices for home safety.
The market is packed with shiny boxes that promise sharp video and smart alerts. A little homework prevents buyer's remorse. Keep these factors in mind before you click "buy" on the best WiFi security camera for your space.
Standalone vs. system: Decide if you need just one lens to watch a single door or a multi-unit kit that records to a shared hub. A WiFi security camera system often brings a unified app, single cloud plan, and neat storage, while a standalone device may suit apartments or one-room offices.
2.4 GHz vs. 5 GHz Wi-Fi bands: Most units use 2.4 GHz because it reaches farther and passes through walls better. Yet 5 GHz can carry more data and reduce crowded-network lag.
Power supply: Your choices are wired, battery, or solar. Plug-in designs stream nonstop and support features like 24/7 recording.
Resolution: 1080p (Full HD) has become the baseline. Moving to 2K or 4K adds detail—handy for license plates or small facial clues.
Ease of installation: Look for clear instructions, including mounting hardware and a drill guide. A swivel mount helps you aim the lens without reinstalling it. Apps that walk you through QR-code pairing save time and frustration.
Smart features: Motion detection filters events so the camera records only when something moves, saving data plans. Two-way audio lets you talk to visitors or warn prowlers. Smart home integration allows routines such as turning on porch lights when the camera senses motion.
Outdoor cameras fight wind, rain, and curious birds, so a sound installation makes the difference between crisp video and a blurred mess. Use these steps as your field checklist:
Plan the coverage zone first: Walk around the area and picture the view you need. Doors, gates, and first-floor windows are prime targets. Aim the camera faces away from the direct sun to avoid glare.
Test Wi-Fi strength on location: Stand where you plan to mount, open a speed-test site on your phone, and check signal strength. If numbers are weak, add a Wi-Fi extender or move the router before drilling holes.
Pick the right height and angle: Mount the camera 8–10 feet high. That height is hard to reach for tampering, yet low enough for clear faces. Tilt the lens slightly downward, covering ground to horizon without large blind spots.
Use weatherproof mounts and seals: Outdoor brackets should be metal or UV-resistant plastic. Run power cables through the wall when possible and seal entry points with silicone to block moisture and insects.
Secure wires and panels: Staple or clip the power lead along trim, and hide solar panel cords behind downspouts. Loose cables invite wear and signal thieves that expensive gear is nearby.
Yes. The router assigns an address to the camera and passes its video to your phone. Without a router, a camera cannot join the networ.
In most cases, the Wi-Fi camera can be placed from the router within 30ft (for a stronger signal). The actual range will vary depending on a number of factors such as the thickness of walls, obstacles inside the house, and the location of the router.
Yes, WiFi security cameras are absolutely worth it for the vast majority of homeowners, renters, and small businesses. They have evolved from simple video feeds into highly intelligent perimeter defense systems.
- They are worth it if: You want a flexible, highly capable, budget-friendly security system that you can install yourself and manage right from your phone.
- Look at Wired (PoE) instead if: You are building a permanent, enterprise-grade network for a large estate, require uninterrupted 24/7 continuous recording on 8+ cameras simultaneously, or live in an area with zero reliable Wi-Fi coverage.
The process for connecting a security camera to Wi-Fi may vary by manufacturer. Here we take Reolink as the example:
1. Download the Reolink app from the Play Store or App Store. Open the app and tap the "+" button at the top right corner.
2. Scan the QR code on the camera using your smartphone.
3. Select "Choose Wi-Fi Connection" from the options. Follow the prompts, and once you hear the voice prompt from the camera, tap Next.
4. Select your Wi-Fi network and enter the credentials. A QR code will appear on the app; scan it with the camera lens. When you hear a beep, tap Next.
5. Once you hear "Connection to the router succeeded," tap Next. Create a login password and name your camera to complete the setup.


Be Prepared, Be Ahead
Never miss Reolink hot deals, news, and updates tailored for you.
Be Prepared, Be Ahead
Never miss Reolink hot deals, news, and updates tailored for you.

Google, Google Play, Google Assistant and related marks and logos are trademarks of Google LLC. Amazon, Alexa and all related logos are trademarks of Amazon.com, Inc. or its affiliates. Mac and Safari are trademarks of Apple Inc. App Store is a service mark of Apple Inc., registered in the U.S. and other countries. Firefox and the Firefox logo are trademarks of the Mozilla Foundation in the U.S. and other countries. Other product and company names mentioned herein may be trademarks of their respective companies.