Your cart is empty.

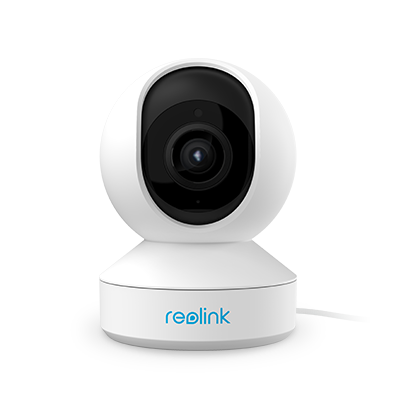
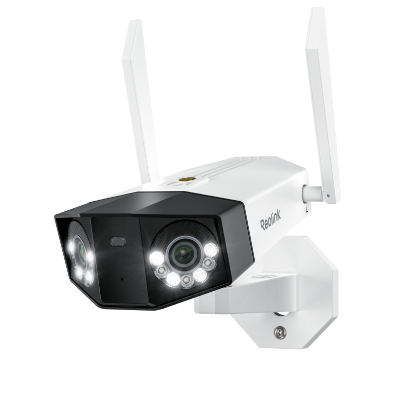
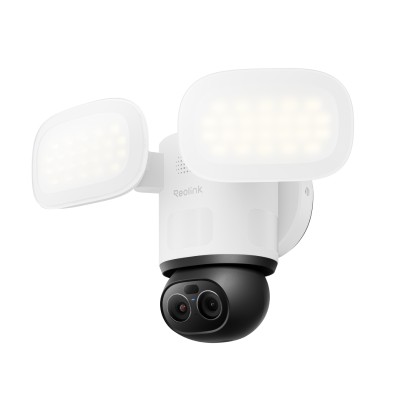
A WiFi security camera connects to a wireless network to transmit video, alerts, and recordings without an Ethernet data cable. Reolink WiFi cameras offer up to 4K video, smart detection, night vision, and dual-band WiFi on select models. Ideal for homes, apartments, yards, and garages.
No Product Found
Reolink WiFi cameras can save motion-triggered or continuous recordings locally to a microSD card, Reolink Home Hub, compatible NVR, or FTP server. Your essential security footage remains under your control, with no mandatory subscription required for local recording, live viewing, or smart alerts.
Selected Reolink WiFi security cameras support dual-band Wi-Fi 6, allowing them to connect through either the 2.4GHz or 5GHz band. The 2.4GHz band provides wider coverage through walls, while 5GHz offers faster transmission and reduced interference at shorter distances. This makes the cameras suitable for busy home networks and high-resolution video streaming.
Unlike battery cameras that require periodic recharging, plug-in Reolink WiFi cameras receive continuous power from a nearby outlet. This supports longer recording sessions, reliable live viewing, and, on compatible models, 24/7 continuous recording to an NVR or other supported local storage device.
Reolink cameras process smart detection directly on the device. Depending on the model, they can distinguish people, vehicles, pets, animals, or packages from general motion, helping reduce unnecessary notifications. When relevant activity is detected, the Reolink App can send an instant alert, while two-way audio lets you speak with visitors, family members, or pets in real time.
You can start with one WiFi camera and add more cameras as your security needs grow. Through the free Reolink App, users can view multiple cameras, receive alerts, play back recordings, and manage compatible indoor and outdoor devices from one account. Cameras can also be connected to a Reolink Home Hub or compatible NVR to create a more centralized whole-home WiFi security system.
- Best for Wide Driveways and Backyards: Reolink Duo 3 WiFi with 180° panoramic view and 16MP resolution
- Best for Tracking People, Vehicles, and Animals: Reolink TrackMix WiFi with pan and tilt
- Best for Zooming In on Distant Details: Reolink RLC-811WA with 5X optical zoom
A WiFi security camera captures video and transmits it wirelessly through your home’s WiFi network. Once connected to a router, you can use the companion app to watch live video, receive motion alerts, use two-way audio, and play back recordings remotely.
A plug-in WiFi camera still requires a power source, for example, a wall outlet. Depending on the model, recordings can be stored locally on a microSD card or compatible NVR without a mandatory subscription.
- Standalone vs. system: Decide if you need just one lens to watch a single door or a multi-unit kit that records to a shared hub. A WiFi security camera system often brings a unified app, single cloud plan, and neat storage, while a standalone device may suit apartments or one-room offices.
- 2.4 GHz vs. 5 GHz Wi-Fi bands: Most units use 2.4 GHz because it reaches farther and passes through walls better. Yet 5 GHz can carry more data and reduce crowded-network lag.
- Power supply: Your choices are wired, battery, or solar. Plug-in designs stream nonstop and support features like 24/7 recording.
- Resolution: 1080p (Full HD) has become the baseline. Moving to 2K or 4K adds detail—handy for license plates or small facial clues.
- Ease of installation: Look for clear instructions, including mounting hardware and drill guide. A swivel mount helps you aim the lens without reinstalling it.
- Smart features: Motion detection filters events so the camera records only when something moves, saving data plans.. Smart home integration allows routines such as turning on porch lights when the camera senses motion.
Yes. The router assigns an address to the camera and passes its video to your phone. Without a router, a camera cannot join the network or connect to cloud services. Some travel cameras create their own mini-hotspot for direct phone pairing—handy on road trips—but at home, you will almost always use your main router.
They can record locally—say, to a micro-SD card—even when the internet drops. Yet you lose alerts, live streaming off-site, and cloud backup during the outage. For full protection, keep a stable internet plan or choose a hybrid 4G/LTE camera that switches to cellular data when Wi-Fi fails.


Be Prepared, Be Ahead
Never miss Reolink hot deals, news, and updates tailored for you.
Be Prepared, Be Ahead
Never miss Reolink hot deals, news, and updates tailored for you.

Google, Google Play, Google Assistant and related marks and logos are trademarks of Google LLC. Amazon, Alexa and all related logos are trademarks of Amazon.com, Inc. or its affiliates. Mac and Safari are trademarks of Apple Inc. App Store is a service mark of Apple Inc., registered in the U.S. and other countries. Firefox and the Firefox logo are trademarks of the Mozilla Foundation in the U.S. and other countries. Other product and company names mentioned herein may be trademarks of their respective companies.